Security Groups
Page contents
Overview
Procedures
Overview
Note: Only Positions in the Administrator System Group can access the Security Centre.
About Security Groups
Security Groups are custom groupings of Positions and Task Teams which are used for granting Edit, View-only, or No Access, to Records .
Note: There is one default Security Group called ‘Users’ that cannot be deleted or renamed.
The Security Groups tab
Security Group can be added, edited and deleted from the Security Groups tab.
'The ‘Security Group’ tab
The ‘Security Groups’ tab elements
ID
Item
Description
1
Column Headers
Use the controls in the Column Headers to filter the Records in the list.
2
Text Field Filter
Enter some text to display only those Security Group list entries that match this text.
3
Security Group list
Displays the list of Security Groups in your TriLine GRC system.
4
‘Edit Security Group’ icon
Click this icon to edit the related Security Group.
5
‘Delete Security Group’ icon
Click this icon to delete the related Security Group. The Delete icon appears when the Security Group is not being ‘used’.
6
Show ‘Members’ icon
Click this icon to show and change the Positions and Task Teams in this Security Group.
7
‘Show Usage’ icon
Click this icon to view all Records associated with the Security Group.
8
Page Navigation Panel
Use the scroll bar to move through the number of Security Group Records.
9
‘Add Security Group’ icon
Click this icon to add a new Security Group.‘Adding a new Security Group’ for more information.
10
‘Reset Grid’ icon
Click this icon to reset the grid to the default view.
Show a Security Group’s Members
Click on a Show Members 1 icon to show the Membership list next to the Security Group’s list.
'The ‘Security Group Membership’ list
The ‘Security Group Membership’ list elements
ID
Item
Description
1
Show ‘Members’ icon
Click this icon to show the Positions and Task Teams in this Security Group.
2
Security Group title
The Security Group who’s Membership we are viewing.
3
Members list
Displays the list of Positions and Task Teams in your TriLine GRC system. The Positions and Task Teams who are ‘checked’ as members of this Security Group are displayed at the top of the list.
4
Membership checkbox
Ticked check boxes are Positions and Task Teams in this Security Group. Unticked check boxes are Positions and Task Teams not currently in this Security Group, but can be selected to be in this Security Group.
5
‘Save’ icon
Click this icon to Save changes to the membership of this Security Group.
6
‘Close’ icon
Click this icon to Close this window.
Show where a Security Group is Used
This window shows all Security Groups, responsibilities and task ‘Actioned By’ roles that this Security Group has in the TriLine GRC system.
Click on a Show Usage 1 icon on the Security Groups tab (item 10 ).
The ‘Show Usage’ window displays.
'The ‘Show Usage’ window
The ‘Show Usage’ window elements
ID
Item
Description
1
Show Usage
The Security Group who’s Usage we are viewing
2
Access tabs
Click each tab to which record has this access.
3
Page Navigation Panel
Use the controls in this panel to move between List Pages and set the number of Records to display per-page.
4
Column Headers
Use the controls in the Column Headers to filter the Records in the list.
5
Usage list
Displays the Usage list of this Security Group.
6
Export icon
Click this icon to export this list.
7
‘Close’ icon
Click this icon to close this window.
Procedures
Access the Security Centre Security Groups tab
From the main menu select Maintenance | Security Centre .
The Security Centre page is displayed.
Click the Security Groups tab.
Adding a new Security Group
Access the Security Centre Security Groups tab .
On the ‘Security Group’ tab, click the Add icon.
The ‘Add New Security Group’ window is displayed.
Enter a name 1 for the Security Group in the ‘Add New Security Group’ window . See Table 5 for details of each field.
Click the ‘Save’ icon 2 to save the new Security Group.
Check that the new Security Group appears in the list on the Security Groups tab (item 4 ).
The ‘Add New Security Group’ window
The ‘Add New Security Group’ window
‘Add New Security Group’ window elements
ID
Field
Description
1
‘Group Name’ field
Enter an unique Group Name. This is what the Security Group is known as throughout TriLine GRC.
2
‘Save’ icon
Click this icon to save the new Security Group.
3
‘Close’ icon
Click to close the window without saving.
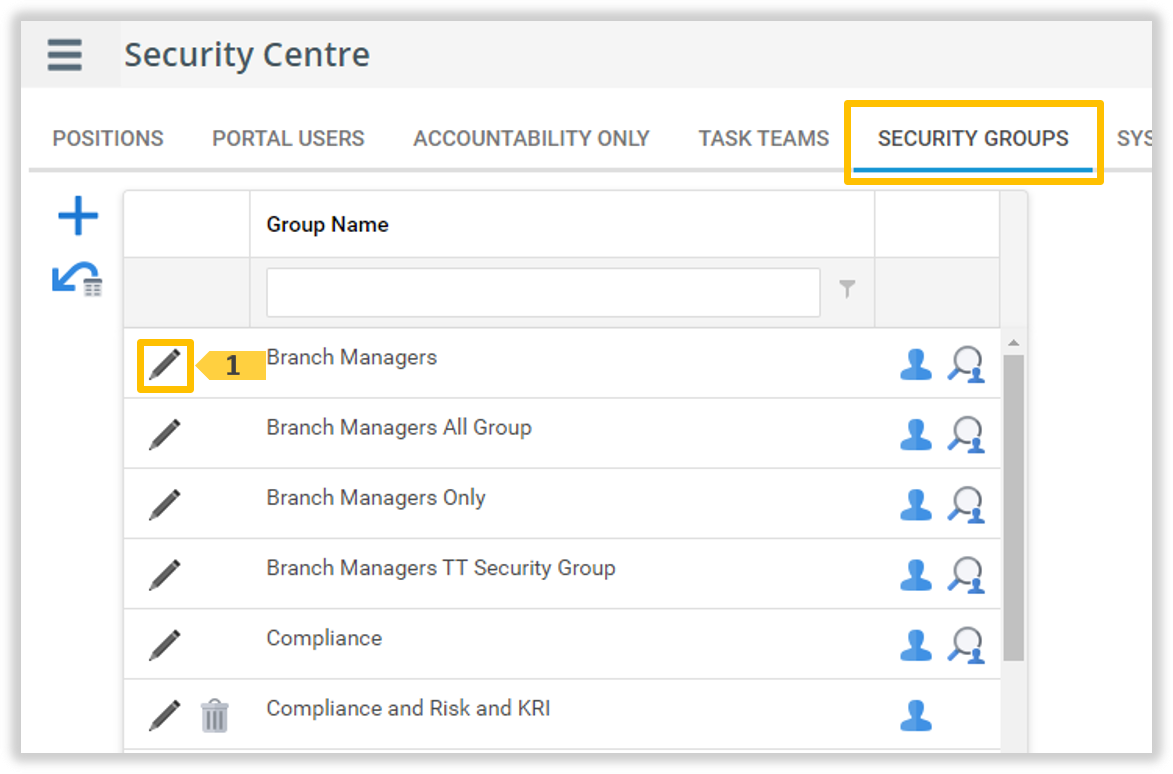
Editing an existing Security Group
Access the Security Centre Security Groups tab .
On the ‘Security Group’ tab, click the ‘Edit’ icon next to the Security Group you want to edit.
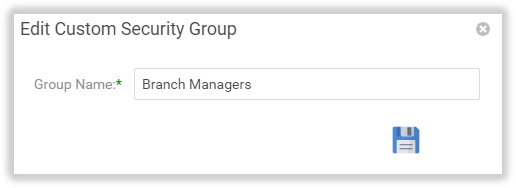
The ‘Edit Security Group’ window is displayed.
Update the name of the Security Group ‘Edit Security Group’ window . See Table 5 for details of each field.
Click the ‘Save’ icon 2 to save the Team Name.
Check that the updated Security Group appears in the list on the Security Groups tab (item 4 ).
The ‘Edit Security Group’ window
The ‘Edit Security Group’ window
‘Edit Security Group’ window elements
ID
Field
Description
1
‘Group Name’ field
Update the Group Name. This is what the Security Group is known as throughout TriLine GRC.
2
‘Save’ icon
Click this icon to save the new Security Group.
3
‘Close’ icon
Click to close the window without saving.
Deleting a Security Group
A Security Group’s delete icon will only appear when:
The Security Group Positions and Task Team have no roles either of responsibility, or as a task actioned by.
The Security Group then has all Positions or Task Teams removed,
Note: Check a Security Group roles by clicking the Show Usage icon.
Access the Security Centre Security Groups tab .
On the ‘Security Groups’ tab, click the ‘Delete’ icon next to the Security Group you want to remove.
A ‘Confirm Delete’ dialog is displayed.
On the ‘Confirm Delete’ dialog, click OK to delete the Security Group (or Cancel if you change your mind).
Check that the Security Group no longer appears in the list on the ‘Security Groups’ tab.
Updating Security Group Members
Access the Security Centre Security Groups tab .
Click on a Show Members 1 icon to show the Position’s in the Security Group.
Select or un-select 4 Positions as required, from the Members list 3 .
Click the Security Group Members Save icon 5 .
Selected Positions will sort at the top of the Security Group Members list. Un-selected Positions will sorted under these.
Click the Close 6 icon.